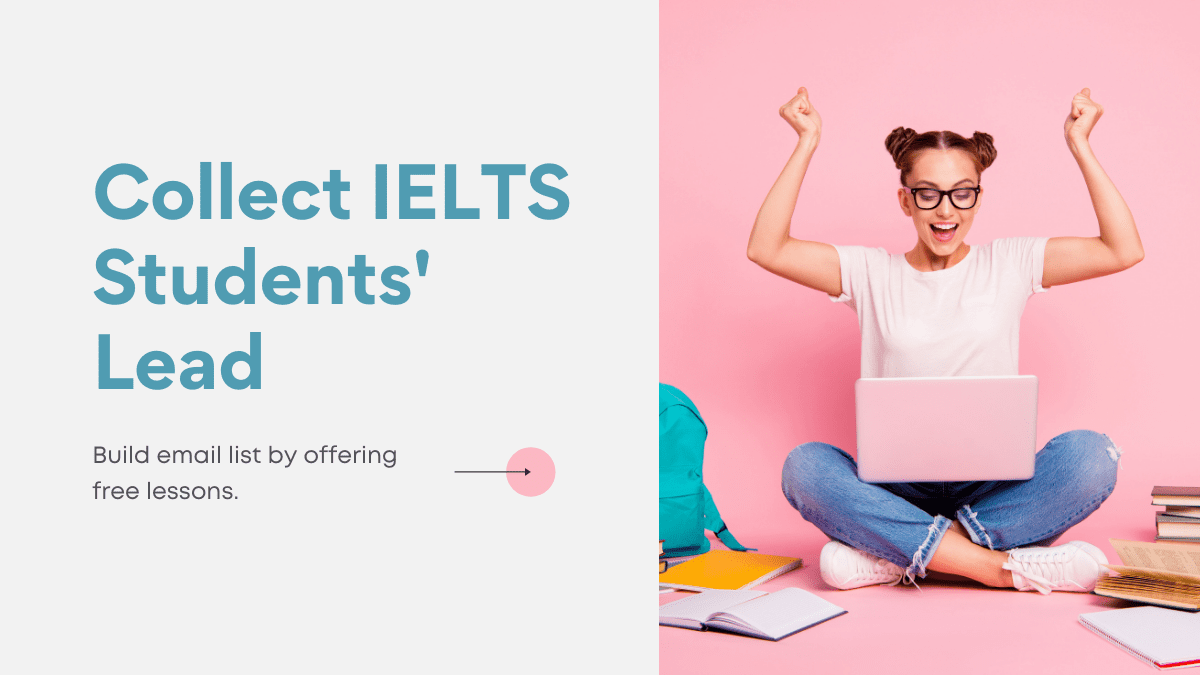
If you sell an online course, one of the best ways to build email list is by giving away a free IELTS lesson or tests.
In this article, we’re going to learn how to do that using MailChimp and restrict content.
We’re going to use two crucial plugins to make this happen.
The first is MailChimp for WordPress. This will allow us to connect our MailChimp accounts with our WordPress website.
The second is restrict content by Pippen Williamson. This is a simple plugin that will allow us to easily restrict complete posts pages or lessons so that only logged-in users can view them. Both of these are free on the WordPress plug-in repository.
How to configure Mailchimp for WordPress
The first thing we’ll see on the general settings page for this plug-in is that we need to connect our MailChimp account with an API key. This will allow our WordPress site to pull in information about our MailChimp account. In order to get that we can click the get your API key here link. If you are already logged in to MailChimp it’ll be brought directly to the API keys page. If you need to log in you can access this page by going to the account area clicking account and then under extras clicking API keys.
If you haven’t already created an API key you can do so by clicking the create a key button. An API key will automatically be generated for you.
Then we’ll copy this and paste it in our WordPress account. Then we’ll click Save Changes.
Once our account is connected to the MailChimp for WordPress, the plug-in will pull in any associated lists.
We can go to integrations and turn on the registration form integration. This integration will make it so that anytime somebody registers for our WordPress site, their email adjusts will automatically be sent to MailChimp so we’ll click yes to enable this and then we’ll click yes for implicit this means that users will not have to explicitly opt-in to our mailing list.
This may affect your GDPR compliance.
What I would recommend is adding language to the lesson page saying that if you want to sign up for the mailing list you can get a free lesson.
We’ll then choose the MailChimp list we want to use and will keep the rest of the settings the same. We’ll click Save Changes and now our registration form is connected to our MailChimp account.
Set up the messaging for restrict content.
We can do that by going to settings > restrict content.
You can see this plug-in allows us to set several different types of messages whether we’re using the shortcode to restrict only part of the content on a post or page or per-user level.
Since we’re going to make this lesson available to anybody who’s a subscriber or higher, we only need to set the message for subscribers.
We’re can make the message like, sign up for our mailing list to get this lesson for free and then include a link to the registration page.
If you’re unsure about the link to your registration page, you can go to the WordPress login page for your site, click register and copy the URL.
Once we set this message, we’ll click save options.
With MailChimp for WordPress and restrict content both configured, let’s go over to the learndash of things. we’re going to go to courses and you could see that we already have a course available called finding the right co-working space.
From here we’ve got four lessons and we’re going to make the first one free for anybody who signs up. so we’ll click what our co-working spaces and then we’ll scroll down to the learnDash settings.
We’re going to check off to make this a sample lesson but there’s one more thing that we need to do.
Simply making this a sample lesson we’ll make the lesson freely available to anybody whether they’re logged in or not.
That’s where restrict content comes in.
So we’ll scroll up to a new box called restrict this content and we’ll set the user level to the subscriber.
One more note before we save these changes.
For video or text in the content area for this lesson, unfortunately, restrict content will not lock down that content. Click update and then if we view the page while not logged in you’ll see our message instead of the lesson content.
We see the message that we set and we’ll have the ability to sign up. That’s it for this article. In it, we learned how to offer free lessons or IELTS tests to anybody who signs up for our mailing list using MailChimp for WordPress and restrict content.
